


-
Poultry Drinker Chick Dropper 1L
$13.90 Add to cart -
Sale!
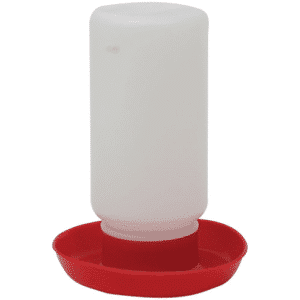
Poultry Drinker Crown Chicks 1L
Original price was: $7.90.$6.95Current price is: $6.95. Add to cart -
Sale!
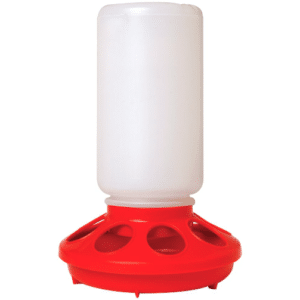
Poultry Feeder Crown Chicks 1kg (8-hole)
Original price was: $10.90.$9.95Current price is: $9.95. Add to cart -
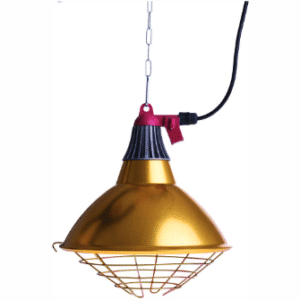
Lamp Holder 30cm Assembly (nil lamp)
$49.90 Read more -
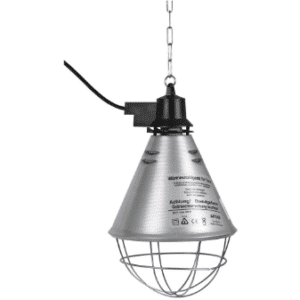
Lamp Holder 21cm Assembly (nil lamp)
$42.90 Add to cart -
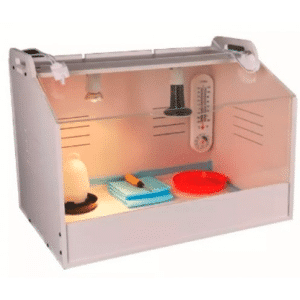
Brooder Cage Lifestyle
$489.00 Add to cart -
Chick Brooder Kit
$138.55 – $168.55 Select options This product has multiple variants. The options may be chosen on the product page -
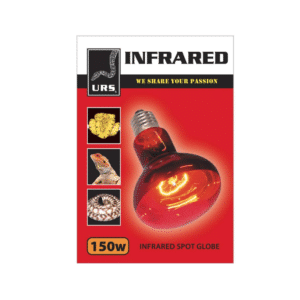
URS INFRARED SPOT LAMP 150W
$15.95 Add to cart -
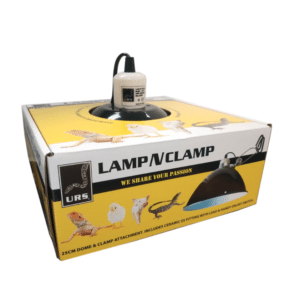
Lamp ‘N’ Clamp 250mm Diameter.
$49.95 Add to cart -

Thermometer Digital Monitoring
$29.90 Add to cart -
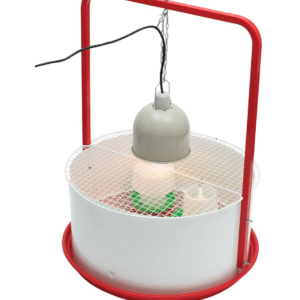
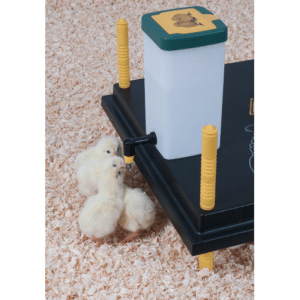
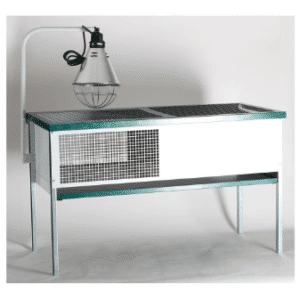
Brooder Tank Crown complete (excl lamp)
$369.00 Add to cart -
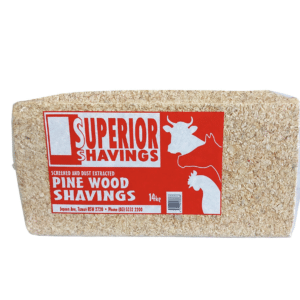
Superior Shavings – 14Kg
$14.95 Add to cart


